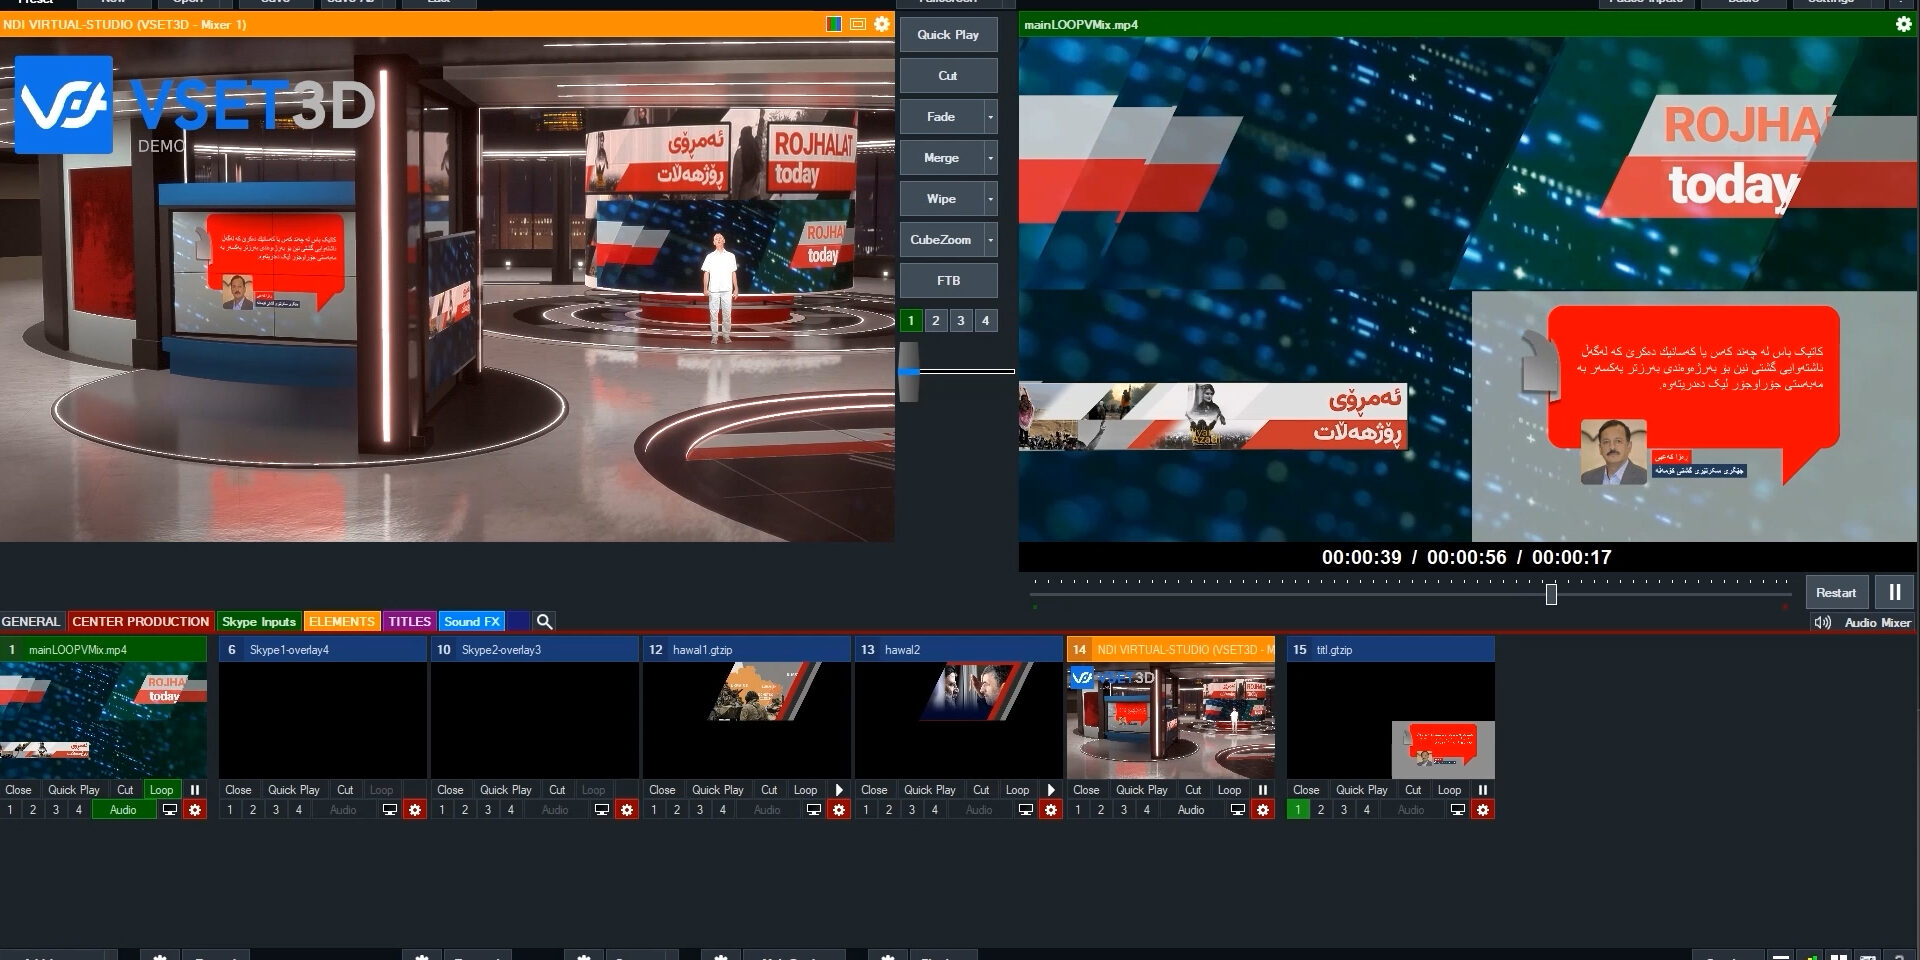
How to add real 3D virtual set to your vMix projects ?
vMix virtual Set with Vset3D offers unparalleled customization, allowing you to import your own 3D models and textures for complete control over your virtual sets.
Unlike vMix, Vset3D provides advanced features tailored for professional productions, such as flexible camera angles and realistic virtual objects, ensuring your content stands out.
Its advanced rendering technology creates lifelike virtual sets, surpassing the capabilities of vMix’s built-in virtual set feature and enhancing the overall quality of your productions.
Vset3D seamlessly integrates into your existing workflow, making it easy to incorporate alongside vMix into your live production setup.
By using Vset3D, you’re choosing a solution that will continue to evolve and improve over time, ensuring your productions remain cutting-edge and relevant in the future.
Vset3D vMix virtual Set workflow
Vset3D makes use of NDI® technology, which enables the transmission and reception of video over IP networks.
This video tutorial illustrates the process of utilizing Vset3D as a virtual set for vMix® software. One of the key features of Vset3D is its compatibility with vMix® chroma key, allowing for the transmission of transparent videos through NDI® Alpha 32 video.
With the utilization of a single, appropriately powerful computer, Vset3D is able to generate four NDI outputs: a primary camera, and three static auxiliary cameras. These four outputs provide the capability to run a multi-angle virtual set from a single computer.
Vset3D is compatible with any live production software, providing seamless, real-time access to a multi-camera virtual studio environment.
Vset3D Multi Camera in vMix
NDI technology allows seamless integration with live production software such as vMix, OBS, Tricaster… In this video, we’ll show you how Vset3D can send 4 simultaneous NDI outputs to vMix, allowing for a multi-angle virtual set from a single computer.
One of the key features of Vset3D is its ability to render 3D scenes using ray tracing. This is not a trivial task, as it requires a significant amount of computational power. However, the Vset3D team has developed a powerful solution that can handle the demands of real-time ray tracing.
The 4 outputs generated by Vset3D are available to the director in vMix, where he can switch between them as desired.
This allows for greater flexibility and creative control during live productions. Whether you’re working on a news broadcast, a live event, or a webcast, Vset3D’s multi-camera.
Import your own
3D Virtual Set
You can create your own virtual sets with any 3D editing software or buy an appealing FBX model online to import into VSet3D.
Try Vset3D Now – For Free!
Lifetime license, no Annual fee


