Your cart is currently empty!
Video Tutorial
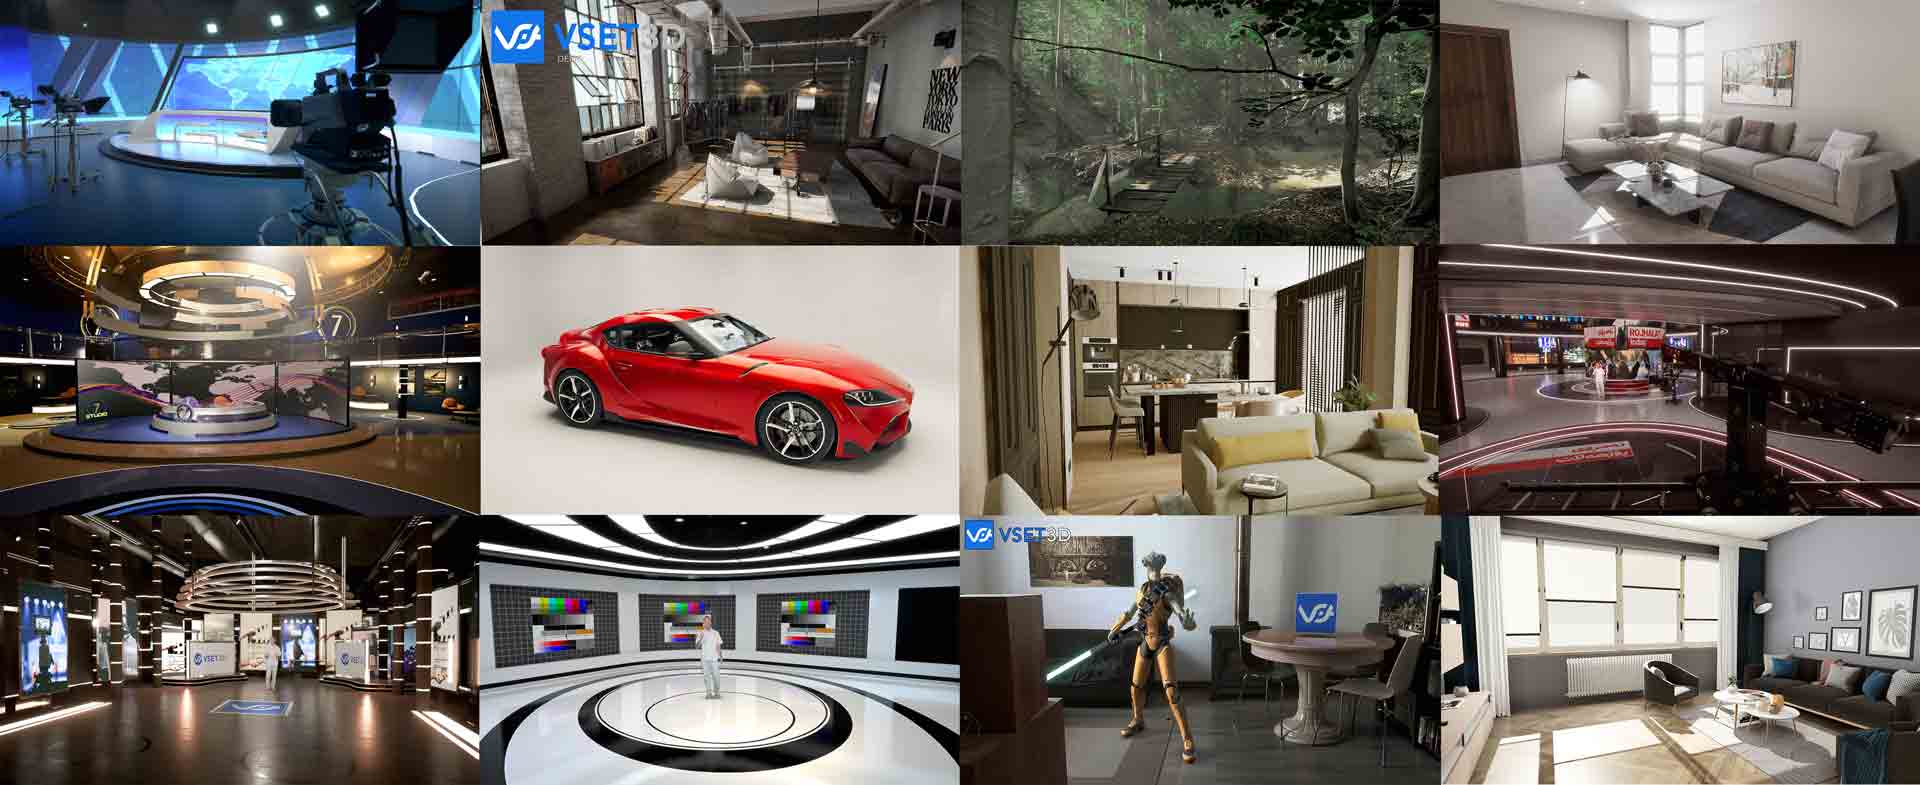
Create your first project in Vset3D
In this video, we’ll go through the steps to create a basic project using assets from the Vset3D Studio library.
Add Object from Library
Click on the “Add Object from Library” icon. This is represented by an icon that looks like cube. A Library window will appear, displaying a variety of pre-built objects and sets you can use. From the Object Library, select Virtual Sets. You can browse through categories to find the right item. After selecting an object, click “Add”. This will add the chosen object to your project.
Add Source Video
To include a live or video source in your project, open the “Sources” menu. In the Sources menu, look for an option to add a new source. This option is often represented by a plus icon. Select the type of source you want to add. It can be a live video input, an NDI stream, or a video media file. Your live source or video is now added to your project and can be used within your virtual set. You can later assign this source to objects within your virtual environment, such as the facing plane.
Add Facing Plane
To set up a Camera Facing Plane for your project, you can use a dedicated icon in Vset3D Studio. Look for the “Add Camera Facing Plane” icon, which is often represented by a human silhouette. This icon can usually be found in the top menu or toolbar of the software. Click on this icon to add the Camera Facing Plane to your project. By following these updated steps, you can quickly incorporate a Camera Facing Plane into your project for green screen video purposes.
Configure the Camera Facing Plane
Double-click on the Camera Facing Plane in the 3D view. This action will open the Inspector window, which provides access to various settings and configurations for the selected object. In the Inspector window, find and select the material icon associated Within the material settings, look for the “Main Texture” option. This is where you will assign your source, which is your live video or media feed. To assign the source to the Main Texture, click on the Main Texture rectangle. This action will open the source browser, allowing you to choose and link your source to the Camera Facing Plane. Once you’ve completed these steps, your Camera Facing Plane will be ready for chroma key adjustments, scaling, and positioning within the 3D space of your project
Add Camera
Click on the “Add Virtual Camera” icon to create a virtual camera. Your new camera will be created with the same orientation as the editor’s 3D view. Double-click on the Camera gizmo in the 3D view to open the Inspector window. Adjust the camera parameters as needed, such as position, orientation, and field of view…
Add Mixer and Select Output Type
Open the “Mixer” menu, found in the top menu bar of Vset3D Studio. Within the Mixer menu, click on the plus icon (+). This action will add a new mixer to your project. After adding the mixer, you’ll need to specify the desired output type for your project. You can choose from the following options:
NDI: Select this option if you intend to use NDI for output.
Blackmagic Design: Choose this option if you are using Blackmagic Design equipment for your output.
Display: Use this option if you plan to display the output on a local monitor.
You can open the mixer view by clicking on the newly added icon labeled with the number 1.
Open the Rendering Window
To access rendering settings, open the “Rendering” window. Within the Rendering window, press the plus icon (+) to open the Render Setting list. Here, you can adjust various rendering settings to achieve the desired lighting and visual effects for your virtual set. Continue Project Workflow. At this point, you have set up the essential elements of your project, including the Facing Plane, Camera, Mixer, and Rendering settings. You can now proceed with your project workflow, which may involve switching between cameras, fine-tuning rendering and lighting settings, and making any necessary adjustments to create your virtual environment.
Working with the vset3D control panel
In this video we’ll guide you through the process of creating, customizing, and expertly employing camera shortcuts using the Control Panel.
Let’s get started by launching Vset3D and opening your project. Firstly, let’s revisit how to create cameras in Vset3D. For an in-depth guide on this topic, please refer to our previous tutorial video. Now, the magic happens automatically with Vset3D. Every time you create a camera, the corresponding button is seamlessly added to the Control Panel.
Here’s what you can tweak:
Auto Name
Vset3D automatically assigns names to each button, but you have the power to make them more intuitive and descriptive.
Size: Tailor the button size within the Control Panel to ensure they’re just right for your workspace.
Background Color: Personalize the button’s color, making it easier for you to spot at a glance.
Trigger: While we won’t delve into this in today’s tutorial, know that you can assign additional actions to these buttons for advanced control.
Shortcut: Create a keyboard shortcut for swift and seamless camera switching. This feature is an absolute game-changer.
Source: This allows you to assign the primary action controlled by this button, enhancing your command over the virtual environment.
Group: Keep your Control Panel organized by categorizing buttons into specific groups. This can significantly streamline your workflow.
Camera Switching couldn’t be simpler. Here’s a quick rundown:
Press the numeric key corresponding to your desired camera, like ‘2’ for Camera 2.To execute the transition, hit ‘Enter’ on your numeric keypad. The result? A clean, professional “cut” transition that keeps your audience engaged. But why stop at “cuts” when you can smoothly glide between camera angles? Let’s explore smooth movements with keyboard shortcuts: Again, press the numeric key for your desired camera position. To initiate the smooth movement: Press the ‘+’ key on your numeric keypad for a gradual, sweeping transition. These custom shortcuts and button settings empower you to switch between cameras effortlessly and stylishly, all while ensuring. Whether you prefer precise “cuts” or silky-smooth transitions, Vset3D has you covered.
Vset3D Studio Tutorial | Add Camera
In this video, we’ll guide you through the process of creating a camera in Vset3D. Cameras are essential for capturing the perfect shots in your virtual sets.
Creating a New Project
If you haven’t already created a project, start by creating a new one. Go to the File menu and select New Project.
Accessing the Camera Creation Process
To add a camera, head to the top menu of Vset3D Studio. You’ll see an icon that looks like a camera with a plus sign. Click on it to begin the camera creation process.
Camera Position and Orientation
A new camera gizmo and Camera Remote window will appear in your 3D view. Double-click on the camera gizmo to open the Inspector window. Inside the Inspector window, you’ll find various camera parameters. To set the initial position and orientation of your camera, locate the relevant options. You can adjust the camera’s position using the ‘Position’ parameters, and you can control its orientation.
Camera Settings
In the Camera Remote window, take a look at the other camera settings available. You can fine-tune parameters such as field of view, aperture, focus, and more. These settings allow you to customize the camera’s behavior to match your creative vision. Beyond the initial camera setup, you can use your mouse for additional camera controls. However, please note that these controls are specific to the Camera Remote window. Scroll the mouse wheel to adjust the camera’s field of view (FOV). Middle-click and drag within the Camera Remote window to pan the camera. Hold the ‘Alt’ key while middle-clicking to control the camera’s orientation, including tilt and pan. Hold ‘Ctrl’ while middle-clicking to roll the camera. Press ‘Shift’ while scrolling the mouse wheel to move the camera forward or backward. Use ‘A’ and ‘F’ keys along with scrolling the mouse wheel to adjust the camera’s aperture and focus (note that you’ll need to enable Depth of Field in the rendering options for focus adjustments).
Alignment and Reset
If you ever need to reset the camera to its default position and orientation, you can do so. In the camera control window, look for the ‘Reset Transform’ button and click it.
vMix & Vset3D Workflow
In this video, we’ll explore how you can seamlessly integrate these two software solutions to enhance your live video productions
Optimal performance:
Before we dive in, it’s essential to note that Vset3D and vMix should run on two different computers. This setup ensures optimal performance and flexibility.One computer runs Vset3D for creating stunning virtual sets, while the other hosts vMix for video production and streaming.
Chroma keying:
First, let’s talk about chroma keying. Whether you prefer doing it in vMix or Vset3D, the choice is yours. vMix offers robust chroma key capabilities. You can fine-tune your green screen settings to perfection. Once your chroma keying is set, you can send the video feed with alpha transparency from vMix to Vset3D using the power of NDI. For more advanced settings, you can also perform chroma keying directly in Vset3D. Another option, is to perform chroma keying externally with a powerful device such as the Blackmagic Design Ultimatte, and send the matt and fill signals to Vset3D.
Media playback:
Now, let’s talk about media playback. You have options here as well. vMix allows you to play media files seamlessly during your production. It’s perfect for adding videos, graphics, and more to your live show. And guess what? You can send those media files from vMix to Vset3D through NDI, making integration a breeze. But wait, there’s more! Vset3D also comes with its own media player, allowing you to play content directly within the software.
Multi Camera:
You can send several Vset3D outputs to vMix through NDI, giving you the flexibility to switch between different scenes or camera angles seamlessly.
In conclusion, the vMix/Vset3D workflow offers a seamless and powerful solution for your live video productions.
Whether it’s chroma keying, media playback, multiple outputs, audio management, or streaming, these two software applications complement each other brilliantly.
Exporting a 3D scene from Unreal Engine to Vset3D
Welcome to this comprehensive tutorial on exporting a 3D scene from Unreal Engine to Vset3D. In this video, we’ll guide you through the process step by step, ensuring a smooth transition from Unreal to Vset3D.
Let’s kick things off in Unreal Engine, where your 3D scene is ready to shine. Here, you’ll use the OBJ export option to save your scene along with its textures. This export format ensures a seamless transition into 3Dsmax or any other 3D editor of your choice.
Now that your scene is exported, let’s dive into 3Dsmax. Before importing the OBJ file, ensure your 3DsMax units settings are configured for a smooth transition. Set your units to Metric and the System Unit to Meters. Next, proceed with importing your OBJ file. Pay attention to the importation options. Ensure ‘Convert’ is checked and that ‘Model Units’ are set to Centimeters. This will automatically resize your entire scene for optimal compatibility. In the ‘Material’ options, select ‘Standard Legacy’ to maintain consistency.
Within 3Dsmax, you’ll have the chance to fine-tune your scene. Remove any unwanted elements, such as lights and cameras, to streamline your 3D scene for Vset3D. Once your scene is polished, use the FBX export feature to save your cleaned 3D scene. With your 3D scene now in FBX format, it’s time to seamlessly integrate it into Vset3D.
Launch Vset3D and create a new project. You can choose the ‘Template_Raytrace’ library as a starting point for your project. This will provide a suitable environment for your imported FBX scene. Using the FBX import option in Vset3D, locate and select your FBX file. This will initiate the import process. Carefully review the import settings to ensure your 3D scene is accurately placed in the 3D universe. Verify that it’s positioned at the center of the grid for optimal alignment. Feel free to adjust its position, scale, and orientation as needed to ensure it fits perfectly within the Vset3D environment. Now that your Unreal Engine scene is seamlessly integrated into Vset3D, you have the power to fine-tune it for your virtual set. Leverage Vset3D’s versatile features to fine-tune your virtual set. Adjust lighting, add virtual cameras, and make any necessary modifications to ensure your scene is ready for your live production. And there you have it! You’ve successfully taken your 3D scene from Unreal Engine and made it ready for action in Vset3D, giving you the capability to create stunning virtual sets for your live productions. We trust you’ve found this tutorial helpful. Be sure to stay tuned for more exciting tutorials, and if you have any questions or require further assistance, don’t hesitate to reach out.
Vset3D Studio Tutorial | Open Render Settings
This video show how to open library render settings
Vset3D Studio Tutorial | FBX importation
In this video, we’ll walk you through the detailed process of importing a Virtual Set in FBX file format into Vset3D, allowing you to work with your own virtual studio. Let’s get started!
Importing the Virtual Set
In the Object Library, find the Virtual Set labeled Template_Raytrace. This ready-made template serves as an excellent starting point for your virtual set project. Select it ad press Add To add your custom FBX set, click on the Add object from file icon. A file dialog will appear. Navigate to the location of your FBX file on your computer. Select the file and click ‘Open’ to initiate the import process.
Editing Rendering Options
Now that you have your Virtual Set imported, let’s fine-tune the rendering options to create the perfect virtual atmosphere. Open the Rendering Window by clicking on the ‘Rendering’ tab in the top menu. Inside the Rendering Window, you have the power to adjust various settings to customize the appearance of your virtual set. Here, you can modify lighting, shadows, reflections, and much more. Start by selecting the Add Settings button marked with a plus icon at the bottom of the window. This will open a list of available rendering options. You can explore and experiment with these options to achieve the desired look and feel for your project.
Saving Your Project
Once you’ve crafted your Virtual Set and polished the rendering settings to perfection, it’s time to safeguard your work. You wouldn’t want to lose all that hard work! At the top of your screen, click on ‘File’ icon In the ‘Save As’ section, choose the location on your computer where you’d like to store your project. Provide your project with a name that reflects its content. A meaningful title goes a long way! Finally, click ‘Save’ to store your project. Your imported Virtual Set and tailored rendering options are now safely preserved for your next masterpiece.